Conquering Your Walls: Must-Have Tools for DIY Wall Paneling
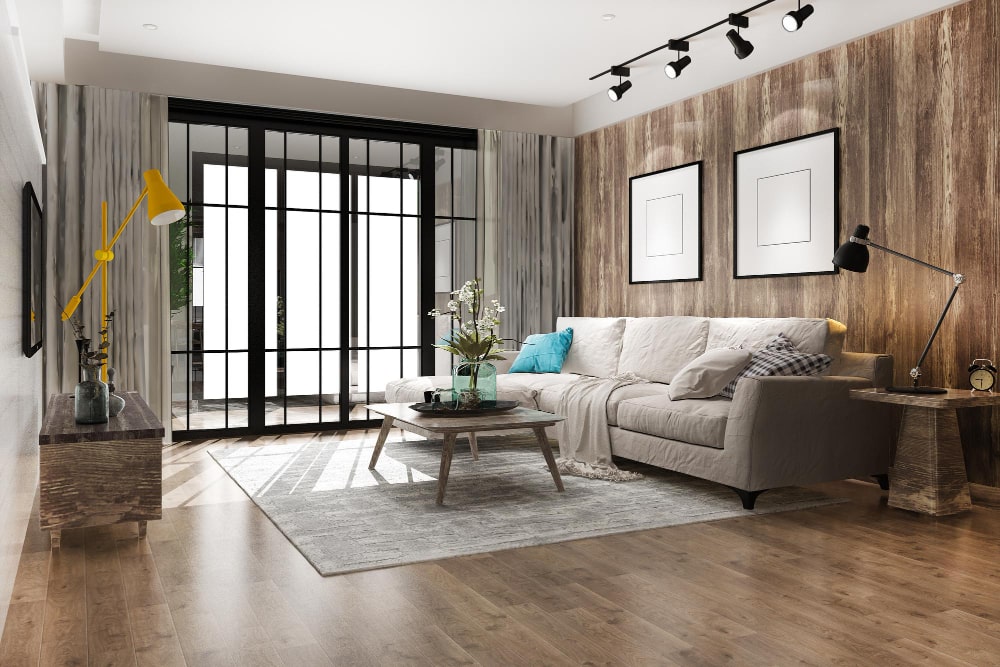
So, you’ve been scrolling through Pinterest and Instagram, hearting all those gorgeous rooms with paneled walls. The good news? You don’t need a magic wand (or a huge budget) to create that kind of magic yourself. DIY wall paneling is a totally achievable project that can add a touch of sophistication and style to any room.
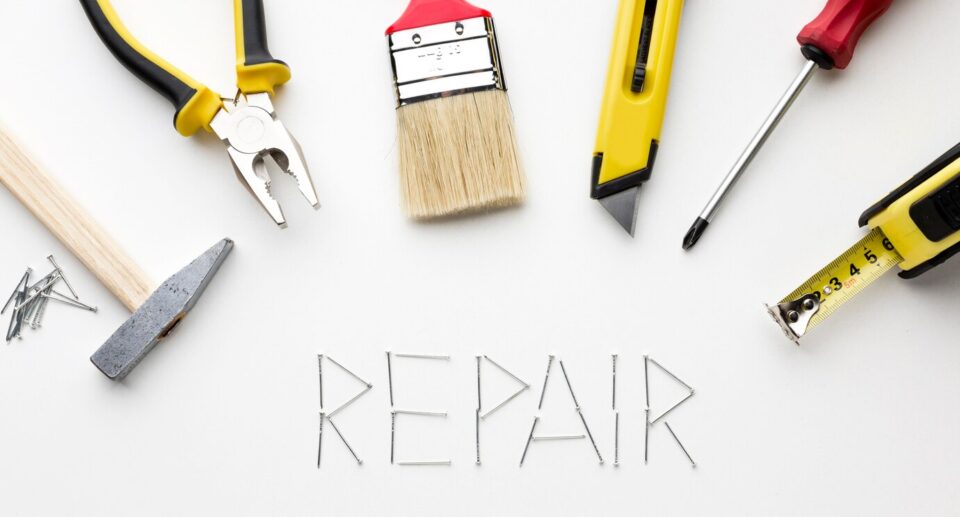
But before you dive headfirst into lumber yards and hardware stores, let’s get you equipped with the right tools. We’re talking about the trusty companions that will help you transform your bare walls into a work of art (well, almost!).
The Measuring Mavens:
- Tape Measure: This one’s a no-brainer. You’ll need it to measure your walls, panels, and anything else that needs precise cuts. Get a reliable one that extends at least 16 feet for those larger spaces.
- Spirit Level: Trust me, won’t wonky panels! The spirit level ensures your panels are perfectly straight, creating a clean and polished look.
The Cutting Crew:
- Miter Saw (Optional): If you’re going for intricate designs with angled cuts, a miter saw is your best friend. It allows for precise and clean cuts, especially for corners.
- Jigsaw (Alternative): No miter saw? No worries! A jigsaw can handle those angled cuts too, although it might require a bit more finesse.
- Utility Knife: Perfect for scoring MDF or plywood panels before snapping them for cleaner breaks.
The Assembly A-Team:
- Hammer: For gently tapping nails into place, especially if you’re using a nail gun (see below).
- Nail Gun (Optional): This can significantly speed up the installation process, especially for larger projects. Make sure to follow safety precautions and wear proper eye protection!
- Caulking Gun: Once your panels are up, use caulk to fill any small gaps and imperfections for a seamless finish.
The Finishing Touches:
- Sandpaper: For smoothing out any rough edges on your panels before painting.
- Paint Supplies: Brushes, rollers, and drop cloths – the usual suspects for creating that perfect painted finish.
Bonus Tip: Don’t forget a safety mask and goggles! Safety first, always!
There you have it! With this arsenal of tools, you’re well on your way to transforming your walls. Remember, DIY is all about having fun and expressing your creativity. So grab your tools, unleash your inner designer, and get ready to be amazed by the stunning transformation you can create!

